The basic procedure for creating new buttons is to go to Setup > POS Screen > POS Screen Setup > Select Layout > Buttons > Drag Stock Item from list and Drop it on a Button > Configure Button > Save.
It is easier to create buttons once you have added all the stock items to the database first.
Please refer to the details outlined below for the numerous ways to create buttons.
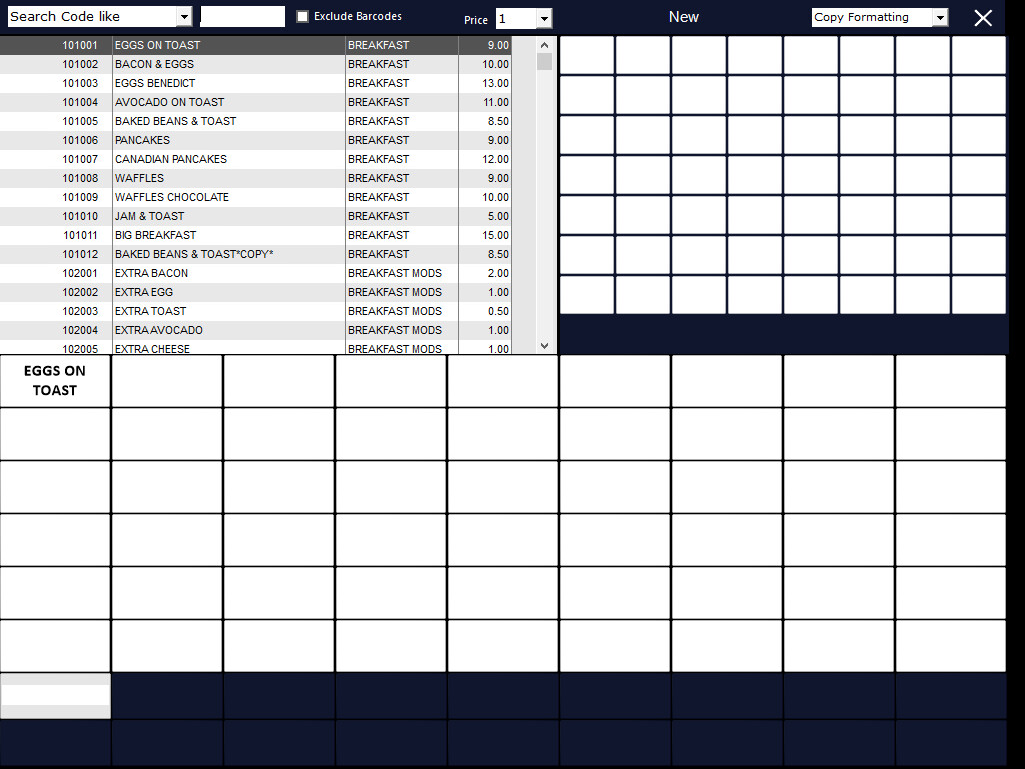
Drag Stock Items from the list that is displayed in the top left corner of the programming screen and Drop them onto the button where you want it.
Repeat this step with as many Items you want.
You can manually add Stock Items to the POS Screen by selecting a blank button > Select Stock Item from the Function List > Press the arrow button ‘>’ to open the Stock Item list and find the item you want.
Customise and press Save.

Open the POS Screen Layout you want to add the Grid or Menu to > Select a Blank button > Select POS screen Grid or POS Screen Menu from the function list > from the drop down box, select the Grid/Menu that you want to link to.
